
I love everything about film photography. I love the cameras, I love the choices of film stock, I love developing it and seeing the final result.
If you’re considering shooting film then I suggest you consider learning how to develop film as well. It can be frustrating at times but also liberating once you’re comfortable with it. It becomes part of the image creating process. I would not shoot as much film as I do if I was not able to develop the film myself.
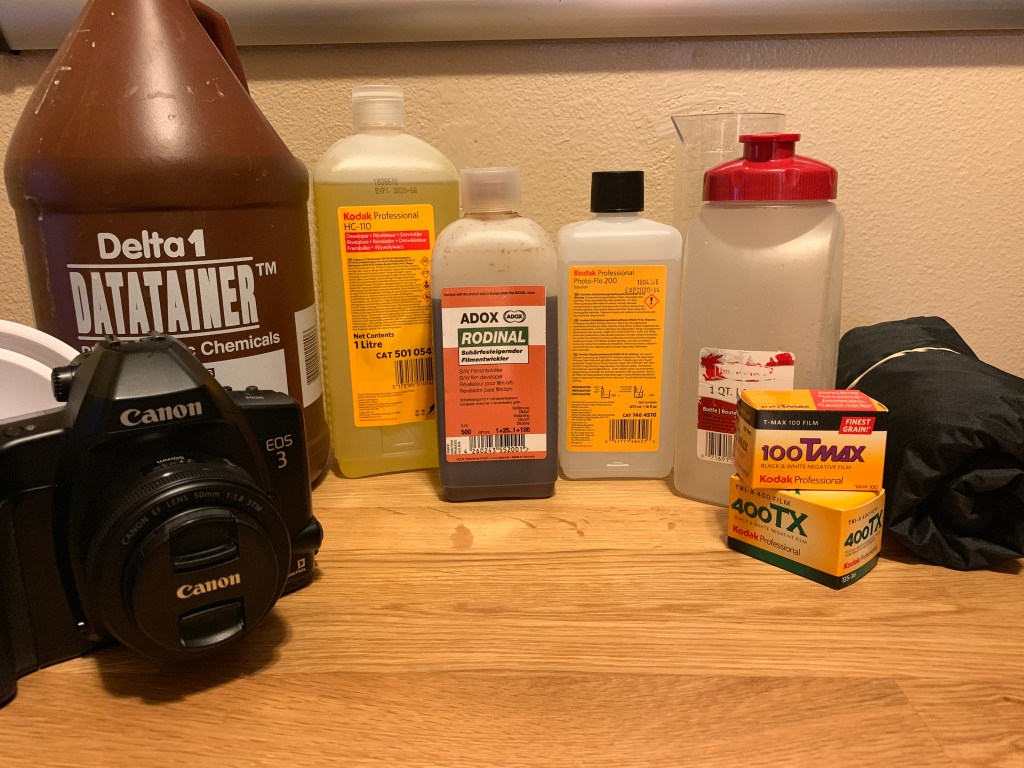
Hopefully I can help you avoid some of the challenges I had learning to develop my own film. Let’s start with the of equipment and chemicals you’ll need to get started developing black and white film at home.
Here is the list of essential tools for your own film developing kit. I’ll list each item with an Amazon or Freestyle Photo link, as well as why you need or “should” include it in your kit.
This won’t be a step by step on “HOW TO DEVELOP FILM”. That will come soon. This is to get you prepared with your chemicals and tools first.
Let’s start with the liquids:
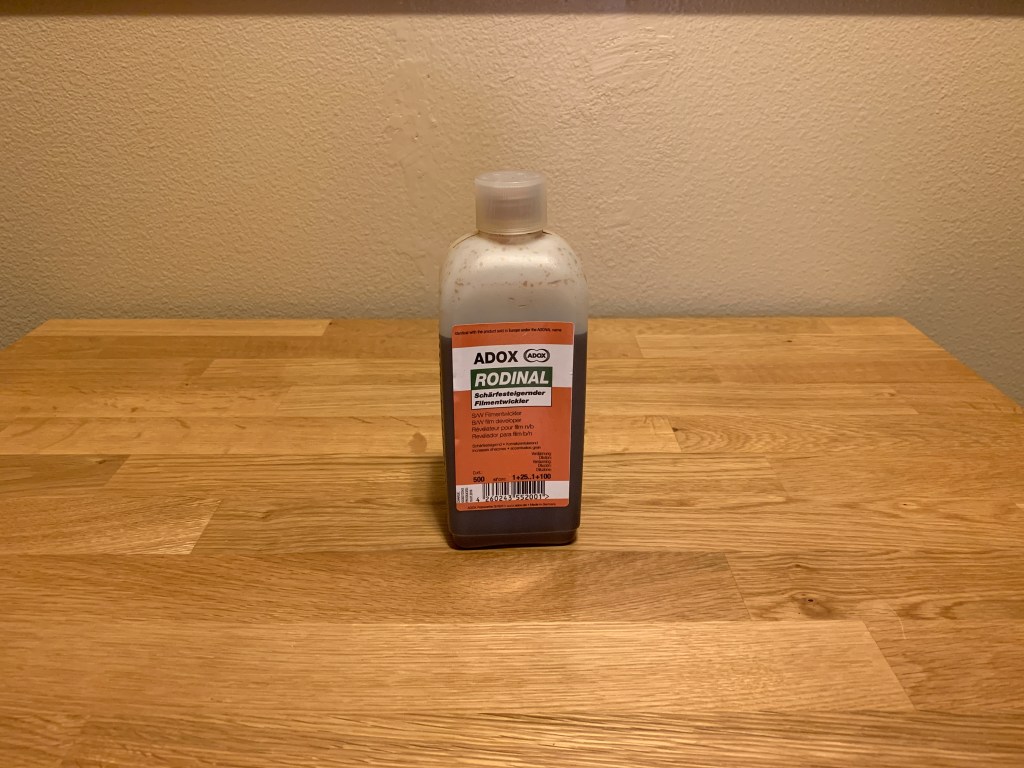
FILM DEVELOPER:
Why you need it: I mean you want to develop the film, right? 😉
What to get: Rodinal: https://www.freestylephoto.biz/12054-Adox-Rodinal-Film-Developer-500-ml
-OR-
HC-110: https://www.freestylephoto.biz/5010541-Kodak-HC-110-Film-Developer-1-Liter-(Makes-32-Liters))
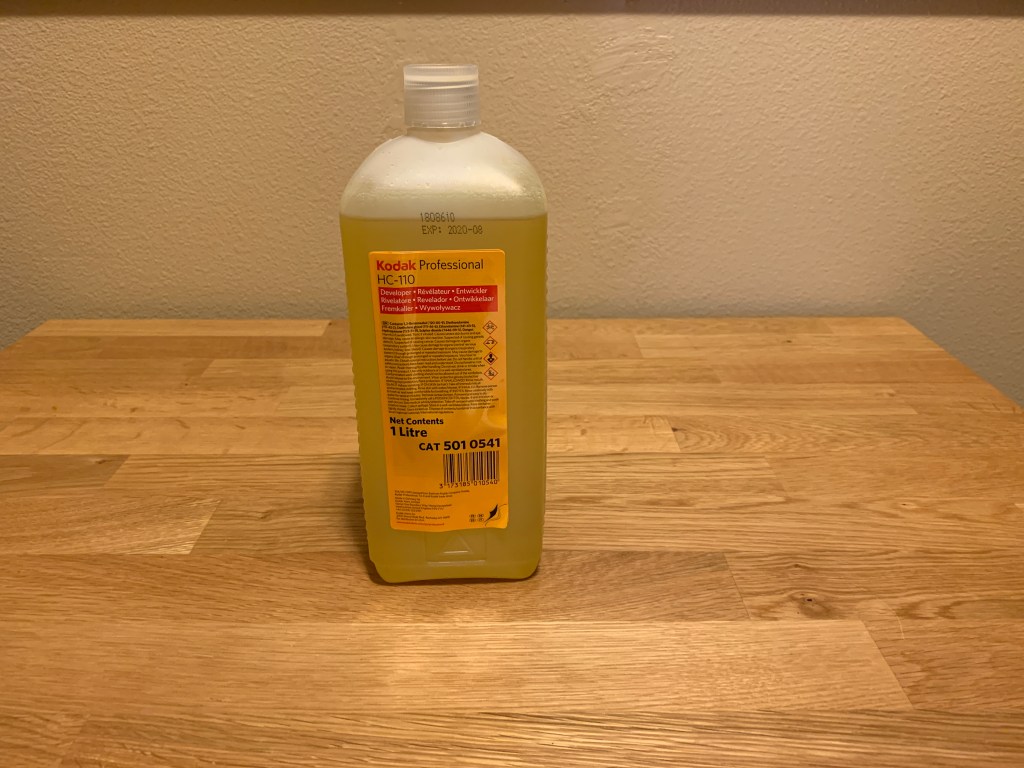
There are a ton of choices for developers in powder concentrate form and liquid concentrate. Start with liquid concentrate like these 2 choices. It’s easier to get going but you’ll still get great results. With both Rodinal and HC-110 you can mix the exact amount you need per roll(s) instead of having to pre-mix a gallon.
FIXER
Why you need it:
Fixer is just as necessary as the developer. After the development chemical does it’s thing on the exposed part of the image, the fixer finalizes the process and washes away any unexposed part of the film. It’s only after this process is finished that your film can be exposed to light.
What to get:
TF-5 Archival Fix:
https://www.freestylephoto.biz/030200-Formulary-TF-5-Archival-Rapid-Fixer-1-Liter
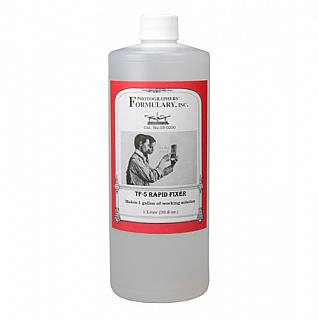
TF-5 is what’s called a rapid fixer. When mixed with distilled water it has very little odor which is a huge benefit over other fixer choices. It also allows you to forgo the stop-bath bath chemical in your process. Normally your film would need a stop bath before the fixer. With TF-5 you can just do a water rinse/stop and then fix as necessary and that’s it. Fixer is reusable so once you finished fixing your film you pour it back into your light sealed, mixed container. You can do this for about 20 rolls or so but your mileage my vary. Do not pour fixer down the sink or any other drain in your house. Keep it in the container and when you’re ready to dispose take it to a local chemical disposal service. My local recycle company offers to accept paints and chemicals once a month. I normally drop my old fixer off there.
DISTILLED WATER

Why you need it:
Technically you don’t need it but I can’t recommend this enough. I utilize distilled water in 3 places in the process. I use it to mix with my developer and I also use it to mix the fixer solution. I only mix a new batch of fixer every so often but I make a single shot of developer every time. The other place I use distilled water is during the final rinse. For the past year I’ve also added a wetting agent to the final rinse as well.
You may have pristine tap water that won’t mess with the chemicals or leave dry water spots on the negatives. I don’t have that luxury. Using my tap water alone with no distilled water rinse doesn’t work for me.
What to get:
Any distilled water will do.
WETTING AGENT
Why you need it:
Again, just like with the distilled water, you don’t NEED it but trust me, it’s worth it. It minimizes water marks and helps with the drying process of the negatives.
What to get:
Kodak Photo-Flo 200:
https://www.freestylephoto.biz/1464510-Kodak-Photo-Flo-200-16-oz.
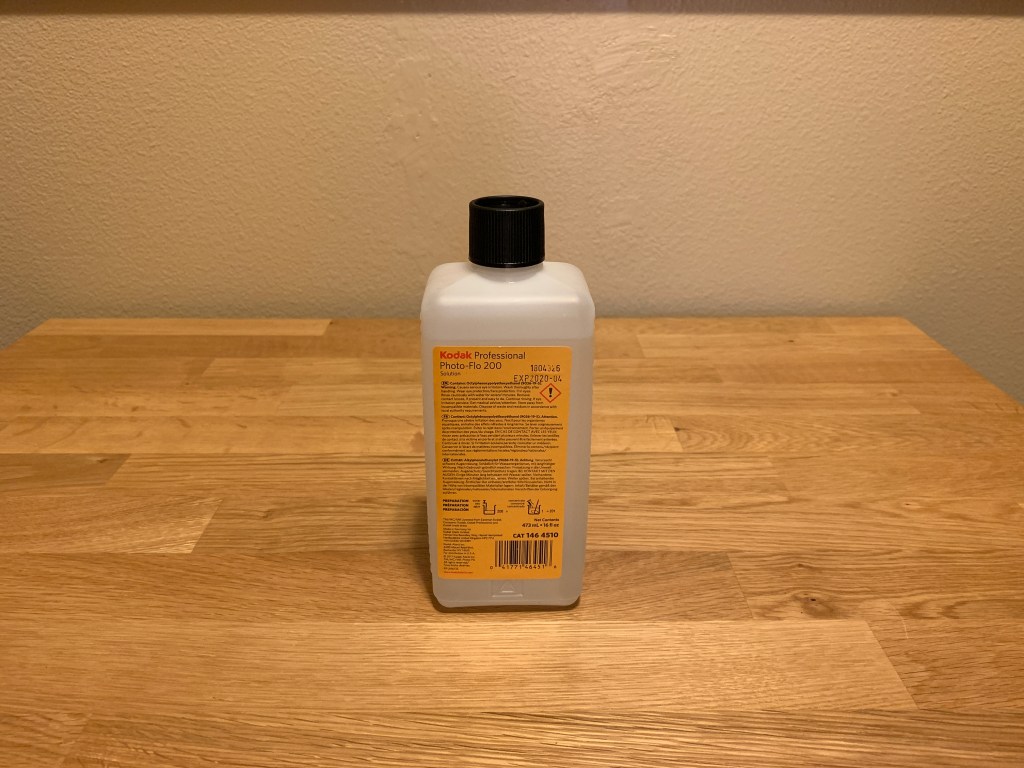
Not much to say about this other than it works really well. I’m sure there are a handful of great choices for wetting agents but I’m trying recommend products I’ve personally used.
So those are the chemicals or liquids for your kit. Now let’s go over the physical tools you’ll need.
DEVELOPING TANK:
Paterson Tank:
From Amazon
Or From Freestyle Photo
https://www.freestylephoto.biz/11516-Paterson-Universal-Tank-with-Two-Reels-Super-System-4

A film tank like this doesn’t let light in and is used to apply the chemicals to the exposed film.
CHANGING BAG
Arista or Paterson: https://amzn.to/2ZhXhVl
https://www.freestylephoto.biz/322730-Arista-Changing-Bag-27-in.-x-30-in.
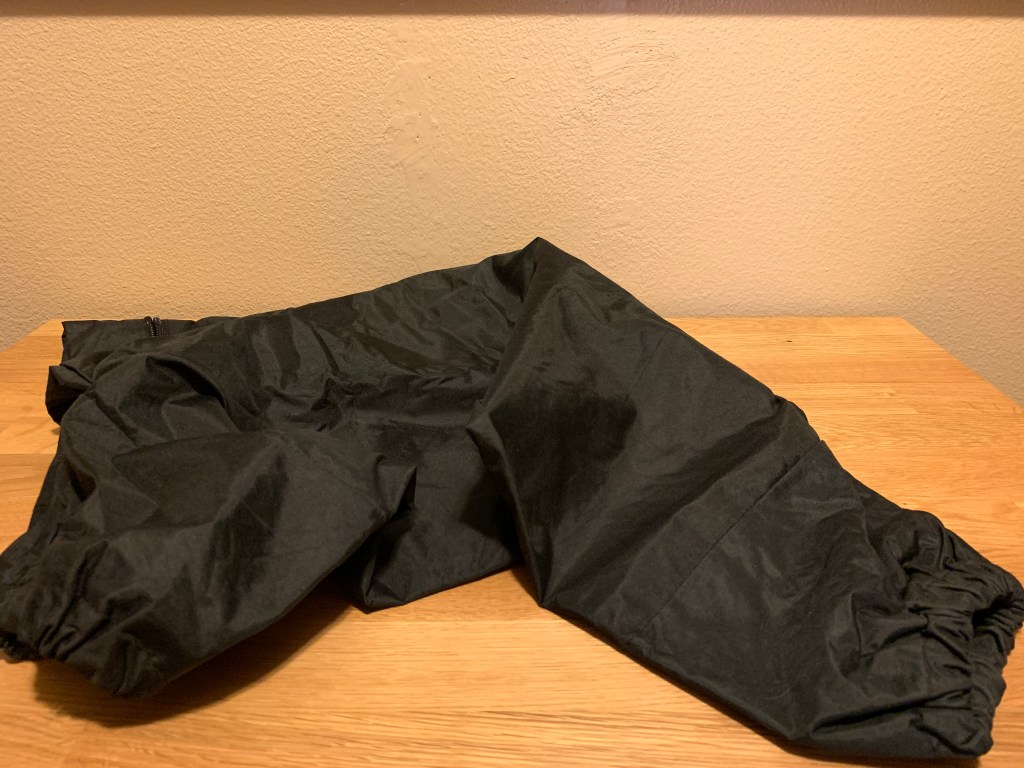
If you have a small bathroom or closet with no windows you could load the film in the tank in complete darkness. I use a changing bag because it minimizes my chance of introducing dust at this point in the process and you don’t have to worry about a light being accidentally turned on while loading. Plus, you’ll be able to do this in the middle of the day when it’s more difficult to make any room completely dark.
CONTAINER FOR FIXER MIXTURE
Delta or one like it:
https://www.freestylephoto.biz/011280-Delta-Datatainer-1-gallon-(128-oz))
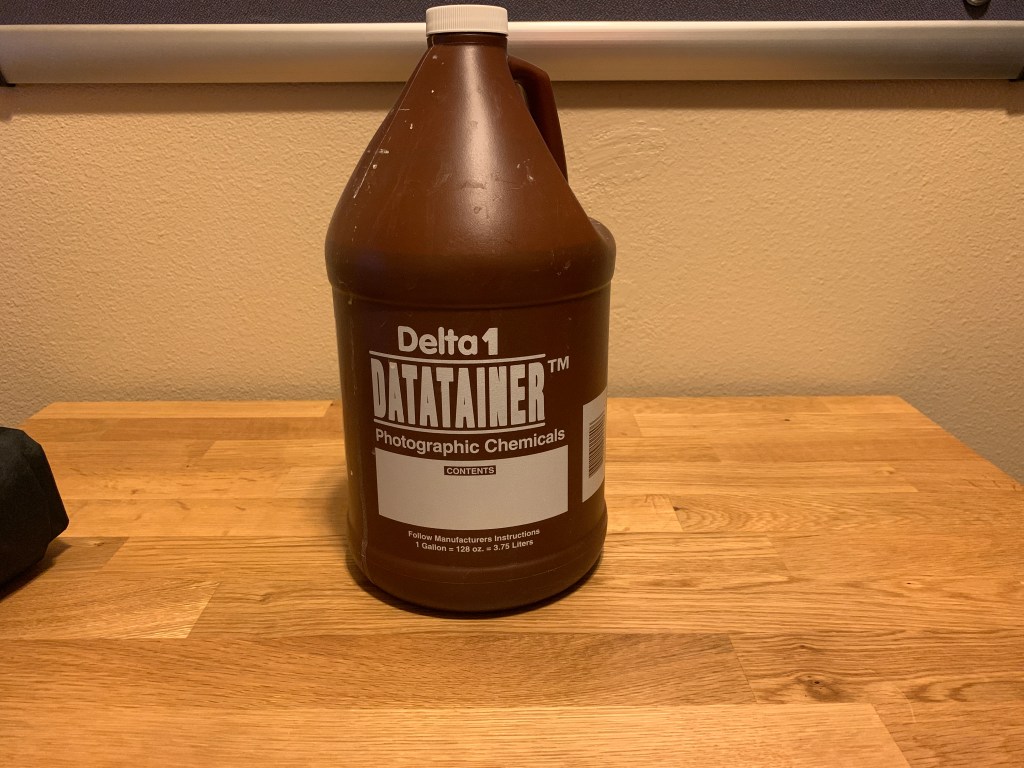
You’ll make your fixer solution here and when you’re done fixing a roll you’ll pour the used fixer back into this container. (Again don’t pour fixer down the drain. Reuse it for a while then dispose properly. Then make a new solution)
GRADUATED CYLINDER(s)
https://www.freestylephoto.biz/17350-Arista-Graduated-Cylinder-650-ml
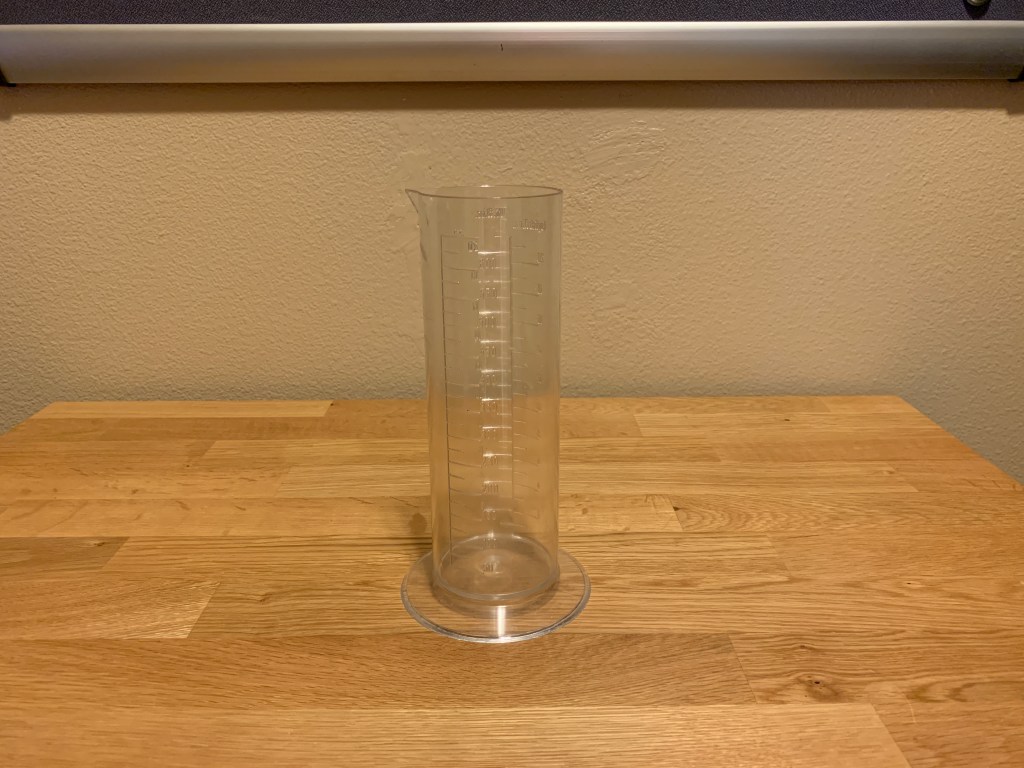
Graduated cylinders make it easy to measure and transfer liquids.
MIXER BOTTLE
From Amazon – https://amzn.to/2TWSbyB

I like to make my single shot solution of developer in this container. Once I pour it out then I can do a quick rinse and wash on it and reuse it prepare my distilled water + Photo-Flo for my final rinse.
FUNNELS
https://amzn.to/33UUN2w
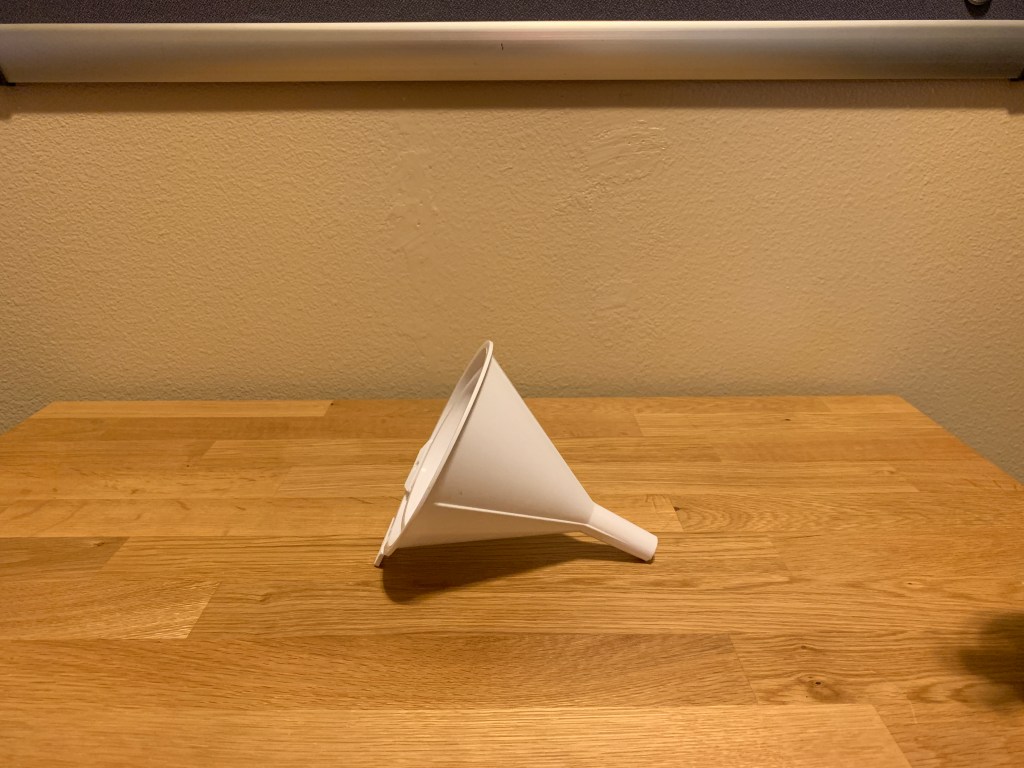
This makes pouring the used fixer back into the the container easy.
MISC TOOLS

FILM CLIPS
https://www.freestylephoto.biz/66361-Arista-Stainless-Steel-Film-Clips-2-pack
You don’t needs these, necessarily but they’re nice to have. An alternative is using Binder paper clips like these
Amazon.com : AmazonBasics Binder Paper Clip, Large, 12 Clips per Box, 4-Pack : Gateway
THERMOMETER
https://amzn.to/2NsdLbi
My next blog post will be my method for stand development which is a method of developing that doesn’t require a specific liquid temperature. If you are going to start with stand development then you may not need a thermometer right now but it will be something you’ll want once you begin expanding your options for developing.
BOTTLE OPENER
This is to open the film roll to get the film out. Any bottle opener should do, I don’t use the pointed end on mine but the rounded end. You’ll see videos of people using butter knifes to open the film roll but the bottle opener is so much easier.
SCISSORS
You’ll need scissors to cut the leader off the film before putting it on the development spool and you’ll also need the scissors to cut the negatives before storing them in the sheets.
NEGATIVE SHEETS
From Amazon
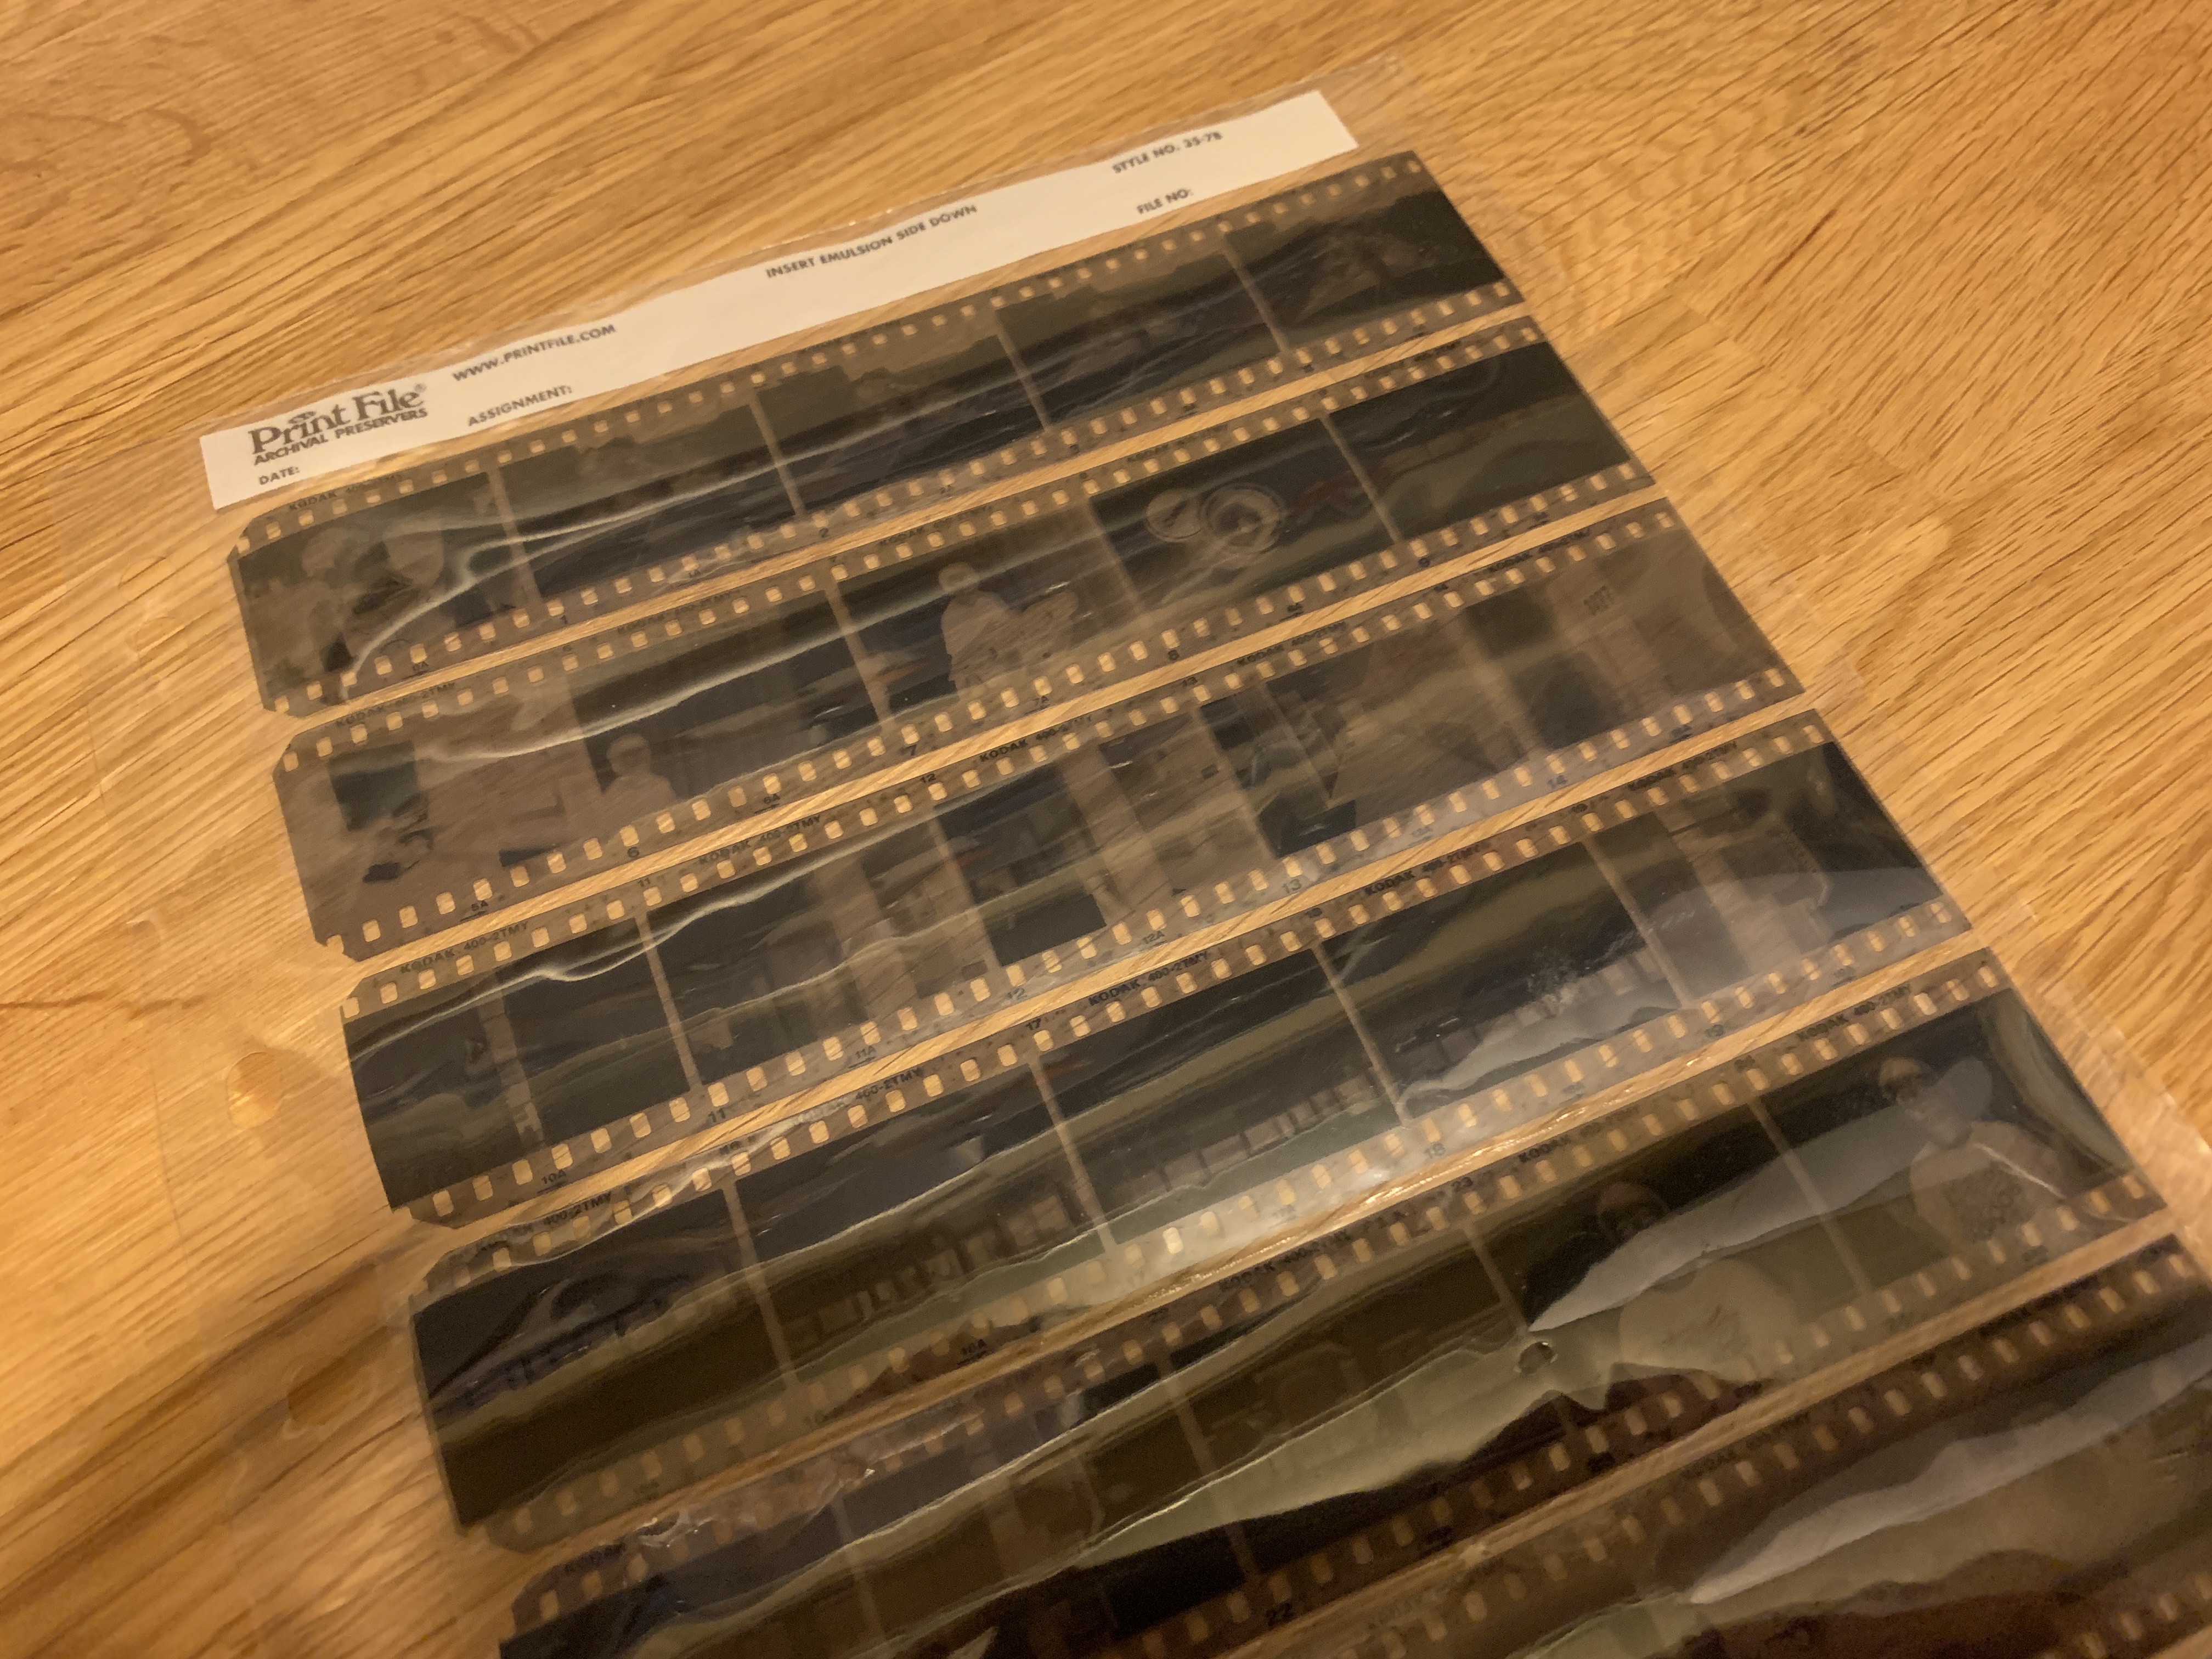
This is as essential as the developer, fixer and development tank. Once your negatives are dry you’ll need a safe way to store them. I use a standard 3 ring binder for these sheets. There are specially made binders for these also made my Print File but I have not used them yet.
STOP WATCH OR SMART PHONE APP
Even with stand development you’ll want to keep an eye on the time so a stop watch is necessary. I mostly use the stop watch app on my smart phone.
CONCLUSION
That’s it. It may seem like a lot but between Freestyle Photo and Amazon you can order most of this online. The last few things you can pick up an your local Walgreens or Wal-Mart.
Once you have this kit then you’ll be all set to go to begin to develop your own black and white film. On my next blog I will share my stand development method, using the Rodinal from this article. After that I’ll share with you what I do with the negatives once they are cut and in the sheets.
Let me know if you’re going to try to develop your own film. If you already do develop your own film, leave a comment with what developer you use and any tricks you might have for the beginners reading this page.
Most of my Amazon links are affiliate links but if you can order most of this from Freestyle photo if you choose too. I am not an affiliate for them but I can’t recomment Freestyle Photo enough. I purchase my film and chemicals from them regularly.
Thanks for reading and best of luck with your film photography!


Leave a comment